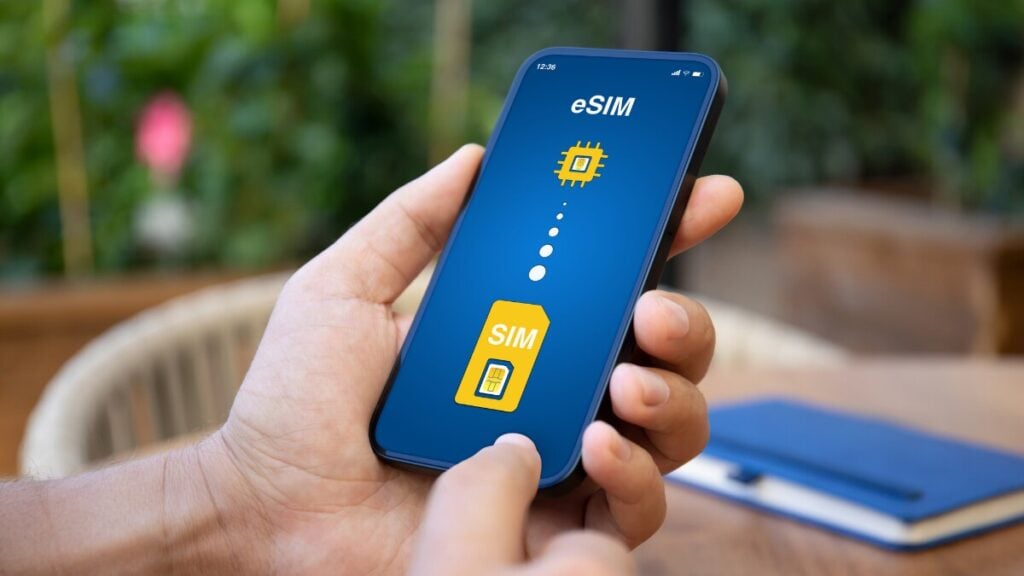
A PDP authentication failure usually appears at the worst possible time. Often, after you’ve just landed and your phone was in flight mode or when turning on a Travel eSIM plan for the first time. For travellers, this error can feel more serious than it often is, resulting in anxiety. The good news is that it is often caused by settings, not a failed eSIM.
A few small details can stop mobile data from working properly, and we’re going to look at them and how you can fix each issue.
The Short Answer
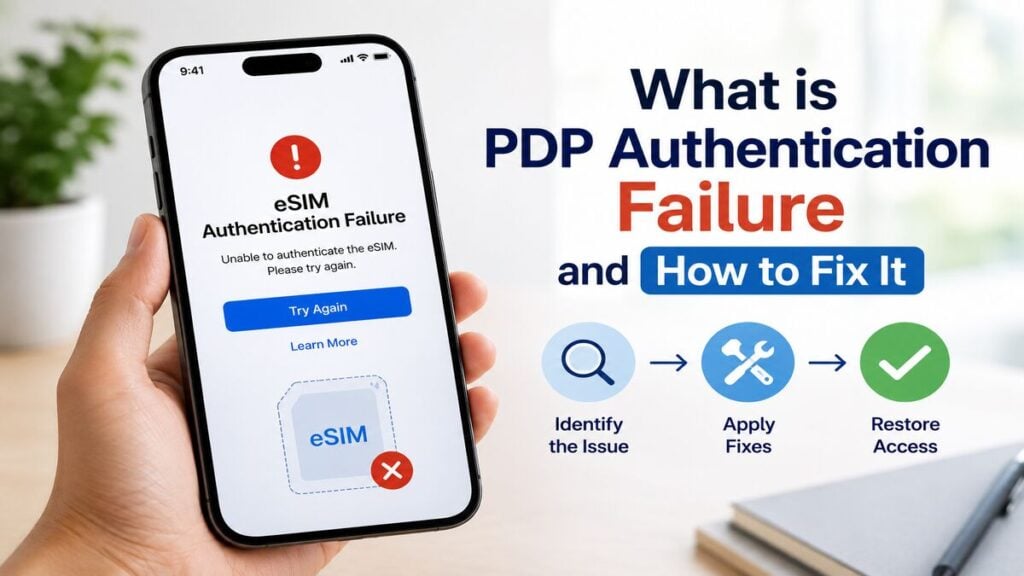
PDP authentication failure means the phone cannot complete its mobile data connection with the network.
With a travel eSIM, this is commonly linked to the wrong mobile data line being selected, data roaming being turned off, incorrect APN settings, a weak local network connection, or the eSIM not being active for that destination yet.
Start with the basics like selecting the eSIM for mobile data, turning on data roaming for that eSIM, restarting the phone, checking the APN, and only then move to manual network selection or network reset.
Avoid deleting the eSIM unless support specifically tells you to.
What PDP Authentication Failure Means
PDP stands for Packet Data Protocol. In simple terms, it is part of the process your phone uses to start a mobile data session.
When everything works properly, the phone connects to the local network, checks the data settings, confirms the plan can use data, and opens the connection. When a PDP authentication failure appears, it means that the process has failed.
Think of it like arriving at a hotel with a booking, but the front desk cannot match one of the details. The booking may exist, but one mismatch is stopping the check-in.
With an international eSIM, the issue often sits in the eSIM profile, selected mobile data line, roaming settings, APN settings, or local partner network.
Step-By-Step Checklist to Fix PDP Authentication Failure

Work through these checks in order. Most mobile data overseas issues come down to one missed setting.
First Checks
Confirm the eSIM is installed on your iPhone. Go to your mobile or cellular settings and check that the eSIM profile appears. If it is not visible, the eSIM has not been installed correctly.
Next, make sure the travel eSIM is selected for mobile data. If your normal Australian SIM is still selected, the phone may be trying to use the wrong plan.
Go to:
Settings > Mobile or Cellular > Mobile Data
Then select the travel eSIM as the line for mobile data.
If you are using dual SIM, your everyday SIM can usually stay active for calls or texts, but mobile data should be assigned to the eSIM you want to use overseas.
Roaming Settings
Turn on data roaming for the travel eSIM.
Go to:
Settings > Mobile or Cellular > select the eSIM > Mobile Data Options > Data Roaming
Travel eSIMs often need data roaming switched on because they connect through partner networks in the destination country.
This does not mean your Australian SIM should also have roaming turned on. Keep the settings separate. To avoid home carrier roaming charges, make sure your Australian SIM is not selected for mobile data.
Restart and Refresh the Connection
Restart the iPhone. This forces the device to refresh its network connection and can clear a stuck mobile data session after landing.
After restarting, give the phone a few minutes to reconnect. Do not keep changing settings every few seconds, as the device may need time to register on the local network.
If the issue continues, toggle Flight Mode on for around 30 seconds, then turn it off again. Once the signal returns, test mobile data with Wi-Fi switched off.
Use a basic webpage or maps search for testing. Some apps may show cached content, which can make it harder to tell whether mobile data is actually working.
APN Settings
Check the APN details in your eSIM setup instructions. APN stands for Access Point Name, and it tells the phone how to connect to the provider’s data service. Some eSIMs set this automatically, while others need the APN entered manually.
If an APN is provided, enter it exactly as shown. And if the instructions say to leave it blank, leave it blank. Do not guess or copy APN details from another provider.
Network Selection
If automatic network selection is not working, try choosing a network manually.
Go to:
Settings > Mobile or Cellular > Network Selection
Turn off Automatic, wait for available networks to appear, then choose a supported network if your eSIM instructions list one.
If one network does not work, try another available partner network. Once the connection is working, automatic selection can usually be turned back on unless the provider recommends staying on a specific network.
App, VPN, and Plan Checks
Turn off any VPN, private relay, security filter, or work profile while testing. These can interfere with connection checks.
Also, confirm the plan is valid for your destination, has not expired, and still has data available. A regional international eSIM may cover several countries, but not every nearby country is automatically included.
Check your order email, product page, or app setup instructions before assuming the plan should work in a particular country.
Last-Resort is Network Reset
If the easier checks do not work, reset network settings.
On iPhone, this is usually found under:
Settings > General > Transfer or Reset iPhone > Reset > Reset Network Settings
This clears saved Wi-Fi networks and network-related settings, so it should not be the first step.
Avoid any reset option that removes eSIMs unless support has told you to use it.
Common Mistakes to Avoid
The biggest mistake is deleting the eSIM too early. It feels like a clean restart, but many eSIMs are designed for one installation. Once removed, they may need provider support or may not be reusable.
Another common issue is turning on data roaming for the wrong SIM. If your Australian SIM has roaming on and is selected for mobile data, you may not be testing the travel eSIM at all.
Changing too many settings at once can also make the problem harder to diagnose. Work through one step, test, then move to the next.
Do not rely only on app notifications to judge whether the eSIM is working. Test actual mobile data in a browser or maps app while Wi-Fi is switched off.
Hotspot can also cause confusion. Some data-only eSIM products allow hotspot, while others may restrict it depending on the plan and network. Check the product instructions before depending on hotspot for a laptop, tablet, or travel partner.
When to Contact TravelKon Support
Feel free to reach out to our support team if the eSIM is installed, the correct mobile data line is selected, data roaming is on, the APN matches the instructions, and mobile data still does not work.
Before reaching out, have your order number, destination country, phone model, screenshots of your eSIM settings, mobile data selection, roaming settings, APN screen, and the exact PDP authentication failure message ready. It also helps to mention whether Wi-Fi and VPN were off during testing, and which networks you tried manually.
This gives us enough information to check whether the issue is device setup, network registration, destination coverage, or plan activation.
TravelKon eSIM Checks Before You Travel
Before departure, check that your phone is unlocked, eSIM-compatible, and able to add an eSIM. Then read the product instructions carefully, as setup timing can vary.
Some plans can be installed before travel and used after arrival. Others may start from installation or have specific activation rules. That said, always go through the product details.
It also helps to understand how an eSIM works before relying on one overseas. A travel eSIM is often data-focused, which means calls, SMS, app verification, hotspot, and emergency calling can vary depending on the plan, device, and destination.
Final Thoughts
PDP authentication failure is frustrating, but it is usually a fixable setup issue. The best first move is to slow down and check the essentials: mobile data line, data roaming, restart, APN, and network selection.
For TravelKon eSIM users, follow the product-specific setup instructions first. If the issue continues, contact support with screenshots and the exact error message so the problem can be narrowed down quickly.
FAQs
What is PDP Authentication Failure on iPhone?
PDP authentication failure means the iPhone could not complete the mobile data connection with the network. With a travel eSIM, this is usually linked to data roaming, APN settings, mobile data line selection, network registration, or plan status.
Does PDP Authentication Failure Mean My eSIM Is Broken?
Not usually. The error often comes from setup or network connection issues rather than a faulty eSIM. Work through the settings before assuming the eSIM needs to be replaced.
Should Data Roaming Be On for a Travel eSIM?
In most travel eSIM setups, yes. Travel eSIMs commonly connect through roaming partner networks overseas. Turn data roaming on for the travel eSIM, while keeping your Australian SIM separate if you want to avoid home carrier roaming charges.
Can the Wrong APN Cause PDP Authentication Failure?
Yes. If the APN is wrong, missing, or entered on the wrong mobile line, the phone may fail to connect to mobile data. Always use the APN shown in your eSIM instructions.
Should the eSIM Be Deleted and Reinstalled?
No, not unless support tells you to. Many eSIMs cannot be installed again after deletion. Try mobile data selection, roaming, restart, APN, and network selection first.
Can PDP Authentication Failure Affect Hotspot?
Yes. If the phone itself cannot connect to mobile data, hotspot will not work either. Even once data works, hotspot availability can depend on the eSIM plan and local network.
What Should Be Checked Before Departure?
Check device compatibility, phone unlock status, eSIM installation instructions, destination coverage, activation timing, APN requirements, and whether data roaming is needed. Save the setup email offline in case the airport Wi-Fi is unreliable.