An IMEI number is one of those small phone details that can suddenly become important when setting up mobile data overseas, checking eSIM compatibility, or trying to fix a connection issue after landing.
If you’ve been using Travel eSIMs, then you must be aware that the IMEI number can help confirm the device being used, support carrier lock checks, and make troubleshooting much easier if the eSIM setup does not go as planned. It is not something most people think about before departure, but it is worth checking before relying on airport Wi-Fi, hotel reception, or a roaming bill that nobody wanted.
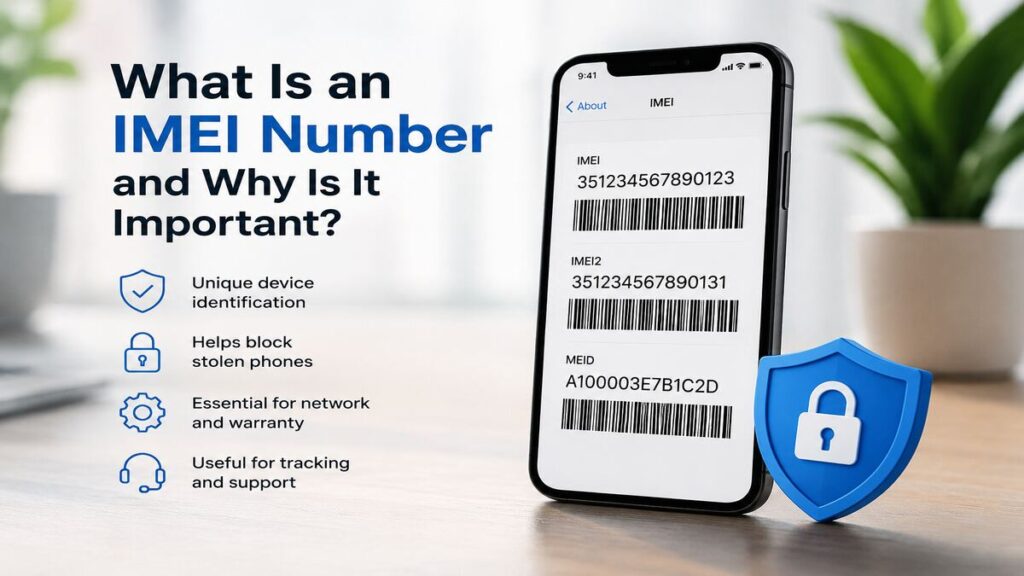
So, What Is an IMEI Number?
An IMEI (International Mobile Equipment Identity) number is a unique 15-digit code used to identify your specific mobile device. Most phones have one IMEI, while dual SIM devices may show two.
In plain terms, the IMEI identifies the physical device on a mobile network. It is not the same as a phone number, SIM card number, eSIM QR code, activation code, or mobile plan.
For travel eSIM users, the IMEI is useful because it can help with compatibility checks, carrier lock questions, device identification, and support troubleshooting before or during travel.
The key point is that having an IMEI number does not automatically mean the phone supports eSIM. A phone also needs to be eSIM-compatible and unlocked for a TravelKon eSIM or other international eSIM to work properly.
How to Find Your IMEI Number
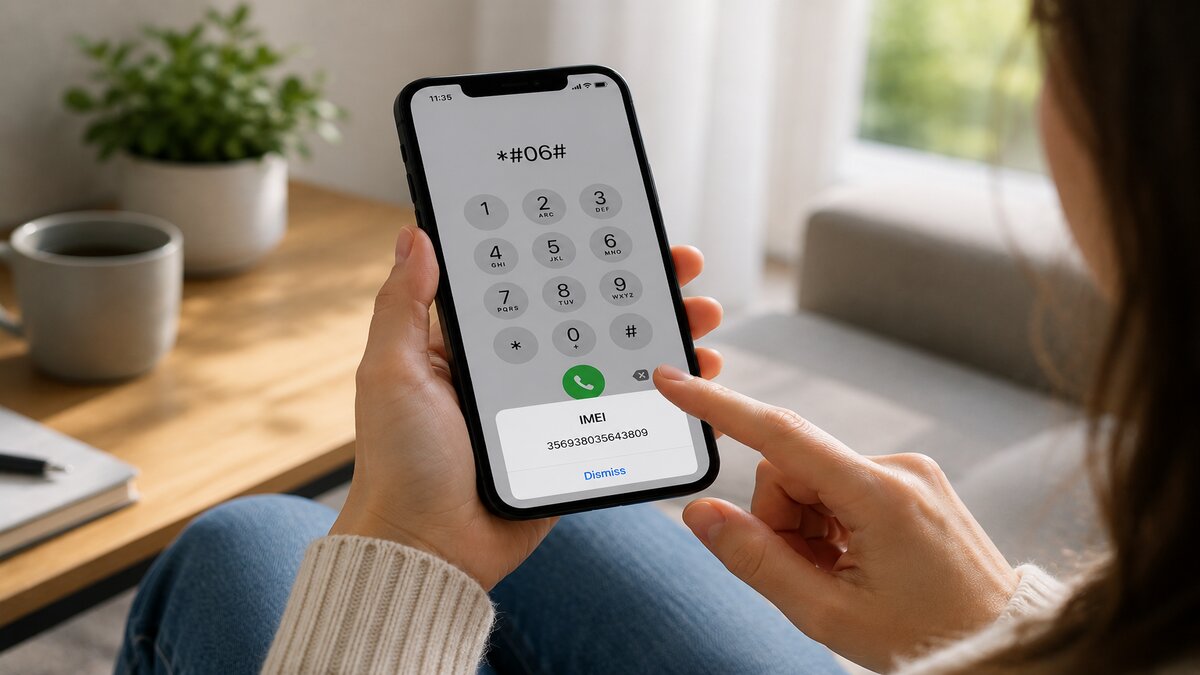
The fastest way to find an IMEI number on most phones is to dial:
*#06#
The IMEI should appear on screen. As mentioned earlier, some devices may show IMEI 1 and IMEI 2. It can usually also be found in the phone settings. On iPhone, check the About section in Settings. On Android, check the About Phone or Status section. The wording may vary depending on the model and software version.
If the original box is still available, the IMEI may also be printed on the label. Remember to be careful with your IMEI number. It is a device identifier, so only share it through official support channels when needed.
Step-By-Step Checklist Before Using a Travel eSIM
A few simple checks before leaving Australia can prevent a lot of stress later. Work through these before departure, then come back to them after landing if the connection needs troubleshooting.
1. Check that the Device Supports eSIM
Not every phone supports eSIM, even if it is a newer model. Check the device model against the TravelKon eSIM product instructions before buying or installing.
Also, check whether the device has an EID in the settings. An EID usually indicates eSIM capability, while an IMEI alone does not confirm it.
2. Confirm the Phone Is Unlocked
A carrier-locked phone may not accept an international eSIM. This is separate from the IMEI itself, but the IMEI may be useful when asking the original carrier to check whether the device is unlocked.
This is important, particularly for phones bought through a mobile provider or as part of a plan.
3. Save the IMEI Before Departure
Keep the IMEI somewhere safe before travelling. Do not post it publicly or send it through unofficial channels, but having it available can help if support needs to confirm device details.
For dual SIM phones, save both IMEI numbers if both are shown.
4. Follow the eSIM Setup Instructions Carefully
Install the TravelKon eSIM using the instructions provided with the product. Some eSIMs may be installed before departure, while others may activate once connected to a supported network overseas.
Avoid guessing during setup. eSIM setup can vary by destination, device, product type, and activation method.
5. Select the Correct Mobile Data Line
Once the eSIM is installed, choose it as the mobile data line. This is easy to miss when the physical SIM is still active in the phone.
For a data-only eSIM, calls and SMS may still sit with the primary SIM, while mobile data runs through the travel eSIM.
6. Check Roaming Settings on the Right SIM
Many travel eSIM products require data roaming to be turned on for the eSIM line. That does not mean roaming should automatically be turned on for the home SIM.
Check each SIM line separately. Keep the home SIM controlled if avoiding roaming charges, and apply the required roaming settings to the TravelKon eSIM line according to the product instructions.
7. Test the Connection After Arrival
After landing, give the phone a few minutes to connect. If needed, toggle aeroplane mode on and off, check the selected data line, and confirm the eSIM is switched on.
If hotspot use is important, check whether the selected eSIM product, destination, device, and local network support hotspot before relying on it.
Common Mistakes to Avoid
Assuming IMEI means eSIM-ready. An IMEI identifies the phone, but it does not confirm eSIM support. The device still needs to be compatible with eSIM.
Using a carrier-locked phone. A locked phone may reject an international eSIM or fail to connect properly. Check this before departure.
Leaving mobile data on the home SIM. The eSIM may be installed correctly, but the phone can still use the wrong line for mobile data.
Turning roaming on for the wrong SIM. If roaming is required, it usually needs to be enabled on the travel eSIM line, not the home SIM.
Deleting the eSIM too quickly. If the connection is not working, check the setup instructions first. Removing the eSIM can make troubleshooting harder, and some eSIMs may not reinstall in the same way.
Waiting until the last minute. The airport gate is not the ideal place to check device compatibility, carrier lock status, roaming settings, app setup, and product instructions.
When to Contact TravelKon Support
Contact our team if the device appears compatible, the eSIM has been installed using the product instructions, and the connection still is not working as expected.
Before reaching out, collect the details that make troubleshooting easier:
- Phone model and software version
- Destination country
- TravelKon eSIM product purchased
- Screenshot of the eSIM line in mobile settings
- Screenshot of the selected mobile data line
- Screenshot of roaming settings for the eSIM line
- Any error message shown during eSIM setup
- IMEI number, if support asks for device identification
Only share these details through official TravelKon support channels. Avoid sending more personal information than needed.
TravelKon Connectivity Tips for eSIM Setup
A TravelKon eSIM can help travellers access mobile data overseas without swapping physical SIM cards. It can be useful for maps, messaging apps, transport bookings, translation tools, email, and hotspot use, where supported.
The right setup depends on the destination, device, and eSIM product. Some travellers may install before departure and activate after arrival. Others may need to follow specific app setup, QR code, or manual installation instructions.
If the difference between a physical SIM, an eSIM, and a data-only eSIM still feels unclear, our guide to how an eSIM works can help you choose or install an international eSIM.
Final Thoughts
As discussed above, an IMEI number is the phone’s unique device ID, and it becomes particularly useful when setting up an eSIM, checking carrier lock status, confirming compatibility, or getting support while overseas.
The safest next step is to check everything before departure. Confirm the phone supports eSIM, make sure it is unlocked, save the IMEI somewhere secure, follow the TravelKon eSIM setup instructions, and check roaming settings on the correct eSIM line.
Sort those checks before leaving, and eSIM setup becomes far less stressful when the plane lands and Wi-Fi is no longer doing the heavy lifting.
FAQs
What Is an IMEI Number?
An IMEI number is a unique device identification number assigned to a mobile phone or cellular device. It helps identify the device on mobile networks and can be useful for eSIM setup, compatibility checks, carrier lock questions, and troubleshooting.
Is an IMEI the Same as an eSIM?
No. An IMEI identifies the device. An eSIM is a digital SIM installed on the device. A phone can have an IMEI without supporting eSIM.
Does My IMEI Tell Me If My Phone Supports eSIM?
Not by itself. The IMEI can help identify the device, but eSIM support depends on the phone model, software, region, and carrier restrictions. Check the device settings and the TravelKon eSIM product instructions before travelling.
Why Does Support Ask for My IMEI Number?
Support may ask for the IMEI to confirm the exact device being used, especially when checking compatibility or troubleshooting setup issues. This can help avoid confusion between similar phone models.
Can I Use a Travel eSIM If My Phone Is Carrier-Locked?
A carrier-locked phone may not work with a travel eSIM. If there is any doubt, check with the original carrier before departure.
Should Data Roaming Be On for a Travel eSIM?
Many travel eSIMs need data roaming turned on for the eSIM line. Check the product instructions carefully, and make sure roaming settings are applied to the correct SIM.
Can I Use Hotspot With a Data-Only eSIM?
Hotspot availability depends on the eSIM product, destination, device, and local network. Check the product details before relying on hotspot while travelling.