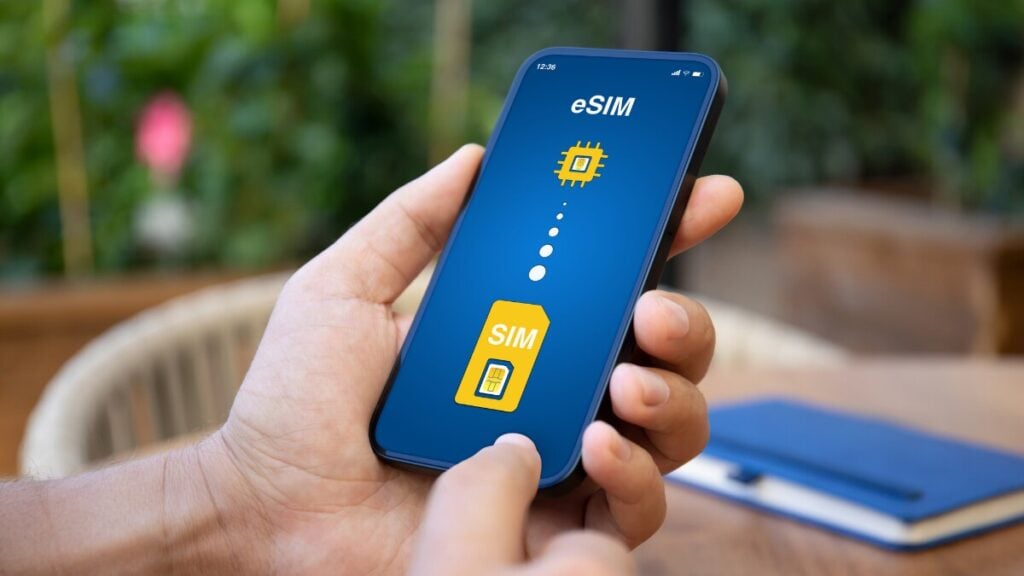
It is quite common for travellers who are ready to set up mobile data overseas to find an identity check sitting between purchase and connection. For anyone comparing Travel eSIMs, this step can feel unexpected. One plan may activate with a simple QR code, while another may ask for a passport scan, selfie, or app verification before the service can be used.
That difference usually comes down to local mobile rules, provider requirements, and how the specific eSIM product is issued. Once the process is understood, it becomes much easier to prepare before departure and avoid setup stress after landing.
Quick Answer
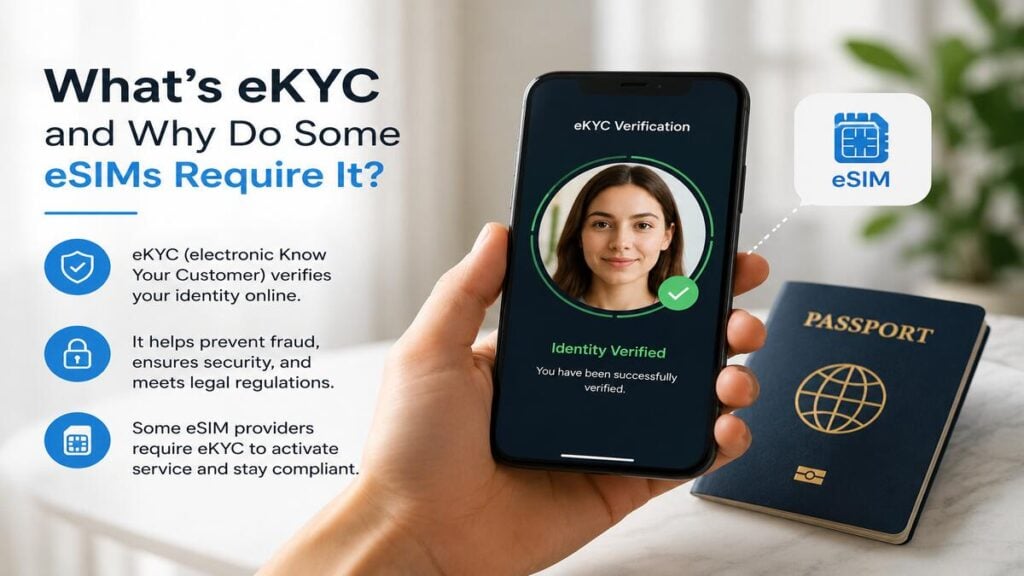
eKYC stands for electronic Know Your Customer and is a digital identity verification process used to confirm that a customer is a real person before certain mobile services are activated.
Some travel eSIM, international eSIM, and local mobile products require eKYC because the destination country or network provider may require customer identity checks before allowing access to mobile data overseas.
Not every TravelKon eSIM requires eKYC. Requirements can vary by country, product, network, and activation process. The safest approach is to check the product instructions before departure, confirm device compatibility, and complete any required verification while you still have reliable internet access.
What eKYC Means in Simple Terms
eKYC is the online version of showing ID at a phone shop. Instead of presenting a passport at a counter, the process may ask you to upload a passport image, scan an identity document, take a selfie, or confirm personal details through an app. The system then checks those details before the mobile service can be approved.
For travellers, this can happen at different points. Some eSIMs ask for verification during purchase. Others may ask after purchase, during app setup, or before the eSIM starts working on the destination network.
This is why installing an eSIM and activating the service are not always the same thing. The eSIM profile may be on the phone, but mobile data may not work until the required verification has been completed.
Why Some eSIMs Require Identity Verification
The main reason is regulation. Some countries require mobile providers to register customers before allowing access to local mobile networks. This can apply to physical SIM cards, prepaid SIM cards, travel SIMs, and eSIMs.
There are also provider-level checks. eKYC can help reduce fraud, support local compliance processes, and confirm that the service is being issued to a real person.
That does not mean every international eSIM will require identity verification. A regional data-only eSIM may have a simple setup process, while a country-specific eSIM in a stricter market may require extra steps. The requirement is usually linked to the destination, the network partner, or the product setup process rather than being a traveller’s personal choice.
TravelKon eSIM Setup and eKYC
A TravelKon eSIM may use QR-code setup, app-based setup, or destination-specific activation steps. If eKYC is required, treat it as part of the eSIM setup rather than a separate problem.
Before buying or installing our travel eSIMs, check the product instructions for activation timing, device compatibility, roaming settings, hotspot availability, and any identity verification requirements.
This is especially important before departure. Airport Wi-Fi, low battery, passport queues, and tired eyes are not ideal conditions for troubleshooting an app or scanning a passport photo. A few minutes of preparation at home can make arrival much smoother.
Step-by-Step eKYC and eSIM Setup Checklist
1. Check whether eKYC Is Required
Before purchase or installation, look for any mention of identity verification, passport checks, app verification, or customer registration. If the instructions mention eKYC, do not leave it until the last moment.
2. Confirm When Verification Must Be Completed
Some products may require eKYC before installation. Others may require it before activation or before the eSIM connects overseas. Check whether the verification step must be completed before departure, after purchase, or once you arrive.
3. Confirm Your Phone Supports eSIM
Your phone must support eSIM and be unlocked for use with other mobile providers. If the device is not compatible, the eSIM setup will not work properly, even if the identity check is successful.
4. Keep Your Passport Ready
For international travel products, a passport is often the most useful ID document. Make sure the photo page is clear, readable, and easy to scan in good lighting.
5. Complete App Setup Before Departure
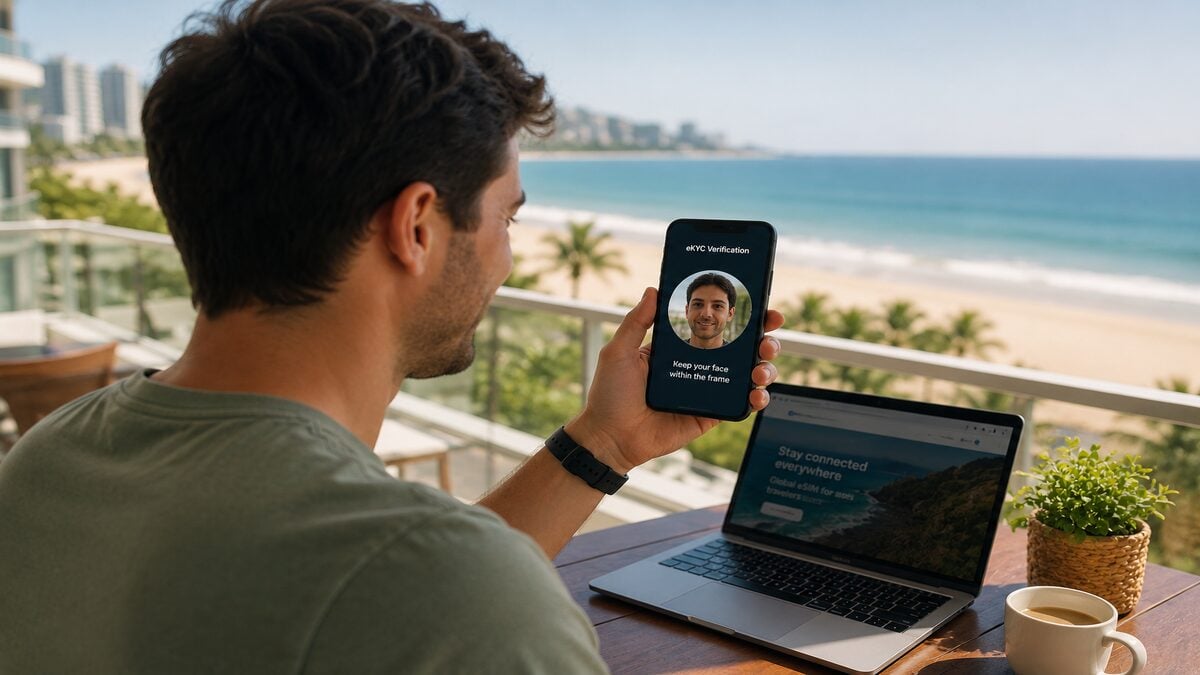
If the eSIM uses app setup, create the account and complete any required verification while you still have stable internet access. This reduces the risk of being stuck after landing with no working data connection.
6. Install the eSIM Carefully
Follow the QR code or manual installation steps exactly. Give the eSIM a clear label, such as “Travel Data” or the destination name, so it is easy to identify in your phone settings.
7. Select the Travel eSIM for Mobile Data
Once ready to use the service, choose the travel eSIM as the mobile data line. If your home SIM is still active for calls or SMS, check that it is not being used for data roaming by mistake.
8. Turn On Data Roaming For The Correct eSIM
Many travel eSIMs require data roaming to be enabled on the eSIM line. This does not mean your home SIM should also have roaming switched on. Check the settings carefully before using mobile data overseas.
9. Test The Connection After Arrival
After landing, turn off aeroplane mode, select the eSIM for mobile data, enable roaming for that eSIM if required, and wait a few minutes. If it does not connect, restart the phone and recheck the setup instructions before deleting anything.
Common Mistakes To Avoid
Never assume that every eSIM activates the same way. A simple QR-code setup on one trip does not mean the next destination will have the same process.
Do not ignore eKYC instructions until arrival. Verification is often simple, but delays can happen if the passport image is blurry, the selfie check fails, or the app needs a stronger connection.
And as always, do not delete the eSIM profile too quickly. If the service is not connecting, deleting the eSIM can make troubleshooting harder, and some eSIMs may not be reusable after removal.
Do not turn on data roaming for your home SIM by accident. For most travel eSIM setups, the travel eSIM should be used for data, while the home SIM should only remain active if needed for calls or SMS.
Lastly, do not assume hotspot is always included. Some eSIMs allow hotspot, some may not, and some depend on the destination network or device settings. Check the product details before relying on hotspot for work or shared travel data.
When To Contact TravelKon Support
Contact our support if the eSIM has been installed correctly but still will not connect after checking the setup instructions, restarting the phone, confirming the mobile data line, and enabling roaming for the correct eSIM.
Before reaching out, collect the details that make troubleshooting easier:
- Order number
- Destination country
- Phone model
- Screenshot of the eSIM settings
- Screenshot showing which SIM is selected for mobile data
- Screenshot of any error message
- Confirmation that data roaming is enabled for the travel eSIM
- Confirmation that eKYC has been completed, if required
- Whether the issue started before departure, after arrival, or after the eSIM had already worked
Avoid sending passport images through general support messages unless our support team specifically directs you to a secure verification process. Identity documents should only be submitted through the correct eKYC flow.
Before You Choose or Install an eSIM
If you are still choosing a plan, start by checking the destination, data allowance, activation timing, device requirements, and any identity verification notes.
If you’re new to eSIM setup, our blog on how an eSIM works is a useful next step before installing your first plan.
Takeaways
What is eKYC? It is a digital identity check that some eSIM products require before mobile service can be activated. For travellers, the best next step is simple: check the eSIM instructions early, confirm whether verification is required, complete any app setup before departure, and keep your passport ready.
If the eSIM does not connect after arrival, avoid deleting it straight away. Check the roaming settings, confirm the correct data line is selected, restart the phone, then contact TravelKon support with screenshots and order details if the issue continues.
FAQs
What Is eKYC For an eSIM?
eKYC is an electronic identity check used to verify a customer before certain eSIM or mobile services are activated. It may involve scanning a passport, uploading ID, taking a selfie, or completing verification through an app.
Why Does My Travel eSIM Need eKYC?
Some travel eSIM products need eKYC because of local mobile regulations, destination network requirements, or provider verification processes. It depends on the country, product, and activation method.
Does Every International eSIM Require eKYC?
No. Some international eSIM plans activate without identity verification, while others require it. Always check the product instructions before purchase or before departure.
Can A Data-Only eSIM Still Require eKYC?
Yes. A data-only eSIM may still require identity verification if the destination country or provider requires customer registration before allowing mobile data access.
Is eKYC Safe For Travellers?
eKYC is a standard identity verification process, but travellers should be careful about where documents are submitted. Only complete verification through the official app, website, or secure process listed in the product instructions. Avoid sending passport images through general messages unless support specifically directs you to a secure method.
Should eKYC Be Completed Before Departure?
Yes, where possible. Completing eKYC before departure gives you more time to fix issues with app setup, document scanning, internet access, or verification errors before you need mobile data overseas.
What Happens If eKYC Fails?
Check that the passport image is clear, the details match, the lighting is good, and the app instructions have been followed. If the issue continues, contact support with screenshots, order details, and a clear description of where the process failed.