You land, switch off aeroplane mode, scan your eSIM QR code, and the next thing you get is “Invalid”, ” Expired “, or “Already used”. That’s how plans stall before they even begin. eSIMs are meant to get you online in minutes, yet one failed scan can leave you without maps, rides, or a way to check in. Most QR code issues trace back to a handful of causes, and once you spot them, the fix is usually quick. Choosing a reliable plan helps too, so it’s worth taking a moment to compare TravelKon travel eSIMs before the next trip.
You Can Start Here
First, open your phone’s SIM settings and check whether the new eSIM already appears. If it is listed, stop scanning and do not delete it. The QR code has probably completed the installation step, and the remaining problem concerns activation or network connection. If no profile appears, retry only when the phone could not read the image or showed a temporary setup error; a code marked used, downloaded, expired or no longer valid requires provider support rather than another scan.
Check Whether the eSIM Is Already Installed
An installed eSIM may be labelled Travel, Secondary, Business, Mobile Data or with an unfamiliar network name.
Check on iPhone
- Open Settings.
- Tap Cellular or Mobile Data.
- Look under SIMs for a new line.
- Tap the likely line and check whether Turn On This Line is available.
- If the order includes an ICCID, compare it under Settings > General > About. Keep the complete identifier private.
Do not remove a profile merely because several lines appear. Supported iPhones can store 8 or more eSIMs, so several stored profiles do not automatically mean the phone is full.
Check on Google Pixel
Open Settings > Network & internet > SIMs. If the travel line appears, check whether it is enabled. Add SIM > Set up an eSIM is for a missing profile.
Check on Samsung Galaxy
Open Settings > Connections > SIM manager. Installed eSIMs appear with an on/off control. On some Galaxy models, the wording may use Mobile plan or eSIM manager instead.
If the profile is present, stop working on the QR code. Select it for mobile data when appropriate and enable roaming only if the plan requires it. Before departure, it may show no service until it reaches a covered network. If it will not connect after arrival, our guide on how to fix a failed eSIM activation can help you further. Still, you can always reach out to our support team for additional troubleshooting steps.
Identify the Exact Error Message
Record the message without including the QR code or activation credentials in the screenshot.
| What You See | Likely Stage | Safest Next Step |
|---|---|---|
The camera does not recognise the QR code | Image recognition | Use the phone’s Add eSIM menu and check the image, screen and camera |
This code is no longer valid, already used or profile already downloaded | Profile download | Check for an installed profile, then contact support if none appears |
Something went wrong or Try again later | Connection, software or provisioning | Check Wi-Fi, update the phone, restart once and check the SIM list |
Unable to activate eSIM | Installation or provider provisioning | Check whether the profile already exists before changing anything |
Cellular plans from this carrier cannot be added | Carrier or regional restriction | Confirm that the device is compatible and unlocked |
No Service, SOS Only or no mobile data | Network registration | Check the selected data line, roaming requirement, APN and destination coverage |
Always remember that installation happens before the profile is stored, but network registration begins when that profile connects. As such, a new QR code will not fix roaming, APN, coverage or SIM-selection problems.
What If the Phone Cannot Read the QR Code?
Use these checks only when the camera or Add eSIM scanner does not recognise the image:
- Display the complete, uncropped code on another screen.
- Increase screen brightness and reduce glare.
- Clean the camera lens and keep the whole square visible.
- Use the original image, not a compressed or forwarded copy.
- Open the scanner through Add eSIM, not only the ordinary camera app.
On an iPhone with iOS 17.4 or later, press and hold the code in the default email app or browser and look for Add eSIM. Otherwise, use another screen or manual details. Do not test-install it on a second phone because that device may register the profile.
Confirm Compatibility, Carrier Lock and Software
Before another eligible attempt, check whether your phone supports eSIM for its exact regional model.
Check Carrier Lock on iPhone
Open Settings > General > About and find Carrier Lock. “No SIM restrictions” normally indicates that the phone is unlocked. An EID confirms that the device contains eSIM hardware, but it does not prove that another provider’s plan is permitted.
Check an Android Phone
Look for an EID under Settings > About phone or SIM status, then confirm carrier-lock status with the original network. Android paths and regional support vary.
Install the latest available software, restart and check the SIM list again. On iOS 18 or later, the Apple Support app can run additional diagnostics. Updates cannot renew an expired or used code.
Install Manually Using the Supplied Details
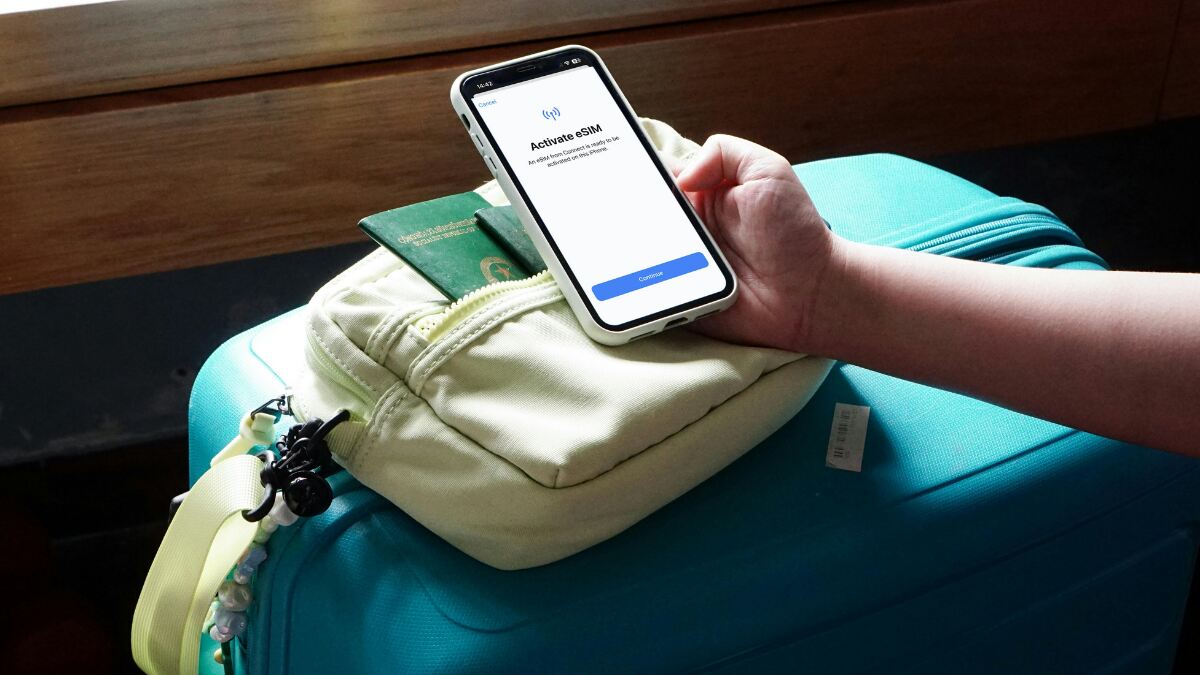
To understand how an eSIM QR code works, treat it as installation data rather than the plan itself.
If no profile is installed, use the original order information to install the eSIM on an iPhone or Android. Only use the SM-DP+ address, activation code and confirmation code supplied by TravelKon.
Enter the Details on iPhone
- Connect to stable Wi-Fi and complete any hotel or airport sign-in page.
- Open Settings > Cellular > Add eSIM or Settings > Mobile Data > Add eSIM.
- Choose Use QR Code > Enter Details Manually.
- Enter each supplied value exactly, without extra spaces.
- Complete the prompts, then return to the SIM list to confirm the profile appears.
Enter the Details on Android
On a Pixel, begin at Settings > Network & internet > SIMs > Add SIM > Set up an eSIM. If you are using a Galaxy, begin at Settings > Connections > SIM manager > Add eSIM. Select manual or alternative installation if offered, then enter the supplied details exactly.
Make one controlled attempt. If it returns the same expired, used or invalid message, stop; manual entry does not change the underlying token.
Avoid These High-Risk Fixes When Scanning eSIM QR Codes
To avoid creating more problems, please do not:
- Delete an eSIM that appears in the SIM list.
- Factory-reset the phone.
- Reset every network setting as a first step. This can remove saved Wi-Fi networks without restoring a registered code.
- Change the Australian home SIM merely to fix a QR-code error. Consider OTP access and possible roaming charges before switching it off.
- Post the QR code, EID, ICCID or activation details publicly.
- Test the plan on a second phone.
When to Stop and Contact Support
Contact our support team when no matching profile appears and:
- The code is marked expired, used, already downloaded or no longer valid.
- It was previously scanned on another phone.
- The installed profile was deleted and the original code will not reinstall it.
- Correct manual details produce the same error.
- The phone is compatible and unlocked, but provisioning still fails.
Ensure you provide us with the order number, phone model, software version, current country, destination, error text, profile status and a redacted screenshot. Send EID or IMEI information only through a secure support channel.
Note: eSIM QR Code reissue rules vary by plan.
Prevent the Same Problem Before the Next Trip
- Check the plan’s installation deadline and activation conditions.
- Install on stable private Wi-Fi before departure when the plan permits it.
- Save the original email and manual details somewhere available offline.
- Update the phone before starting installation.
- Keep the profile installed after a successful download.
- Never scan the code on another device merely to check whether it works.
FAQs
Can an eSIM QR Code Be Scanned Twice?
Do not assume so. Many codes allow one profile download. A second scan can report used even when the first attempt installed the profile.
Can an eSIM QR Code Be Scanned From the Same Phone?
Sometimes. Supported iPhones allow press-and-hold installation from the default email app or browser. Otherwise, use another screen or manual details.
Why Does an eSIM Code Say It Is No Longer Valid?
It may already be installed, consumed, expired or invalid for that device. Check the SIM list, then contact support if no matching profile appears.
Can an eSIM Be Installed Without Scanning the QR Code?
Yes, when the provider supplies an SM-DP+ address and activation code. Manual entry replaces the image-scanning step but cannot bypass expiry, compatibility, carrier locks or a consumed token.
Should an eSIM That Already Appears in Settings Be Deleted?
No. Treat a visible profile as installed unless support confirms otherwise. Deleting it can turn a recoverable activation problem into a new-code request.
Final Thoughts
eSIM hiccups like QR code errors are not edge cases. They are part of a technology still finding its footing. According to GSMA Intelligence, eSIM penetration reached about 5% of global smartphone connections in 2025, which helps explain why setup confusion is still common. As adoption climbs, these issues will become more visible, not less. The upside is that most problems are predictable and fixable, especially with a reliable plan and a smoother setup process.