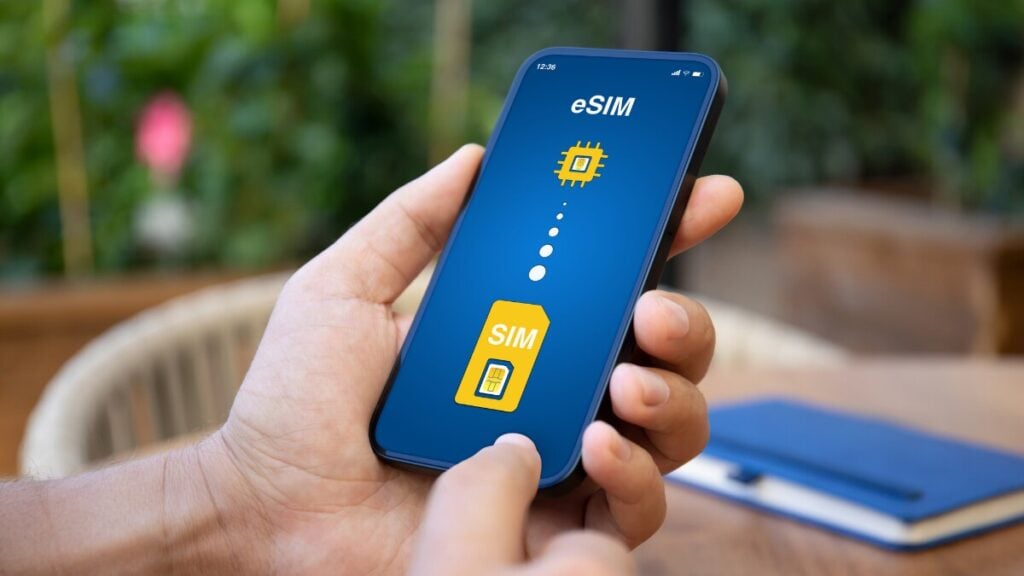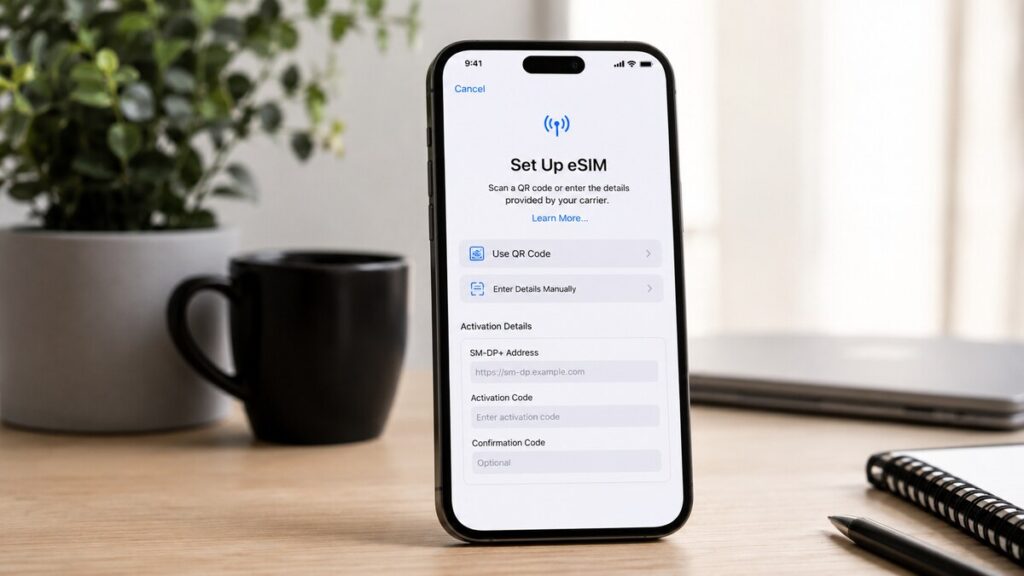
Setting up an eSIM is usually simple, but it can at times be challenging when your phone suddenly asks for technical details. One of the most common terms travellers encounter is SM-DP+ address, particularly during manual setup or when a QR code does not scan properly.
For people who rely on Travel eSIMs, this can be a slightly worrying moment. The good news is that seeing this term does not automatically mean something has gone wrong. It usually means your phone needs extra setup information before the eSIM can be installed.
Quick Answer
An SM-DP+ (Subscription Manager Data Preparation) address is a unique server code your phone uses to find and download an eSIM profile from your eSIM provider.
In other words, it tells your device where to collect the eSIM details from. Most travellers do not need to enter it manually if the QR code setup works. It usually becomes relevant when:
- You are installing an eSIM manually.
- The QR code does not scan.
- Your phone asks for an activation code.
- You are following the troubleshooting instructions from your provider.
The important thing to remember here is to never guess the SM-DP+ address. Use the details provided in your eSIM setup instructions or contact support.
What This Means for Travellers
For travellers, the SM-DP+ address is mostly a setup detail. It is not a password, a roaming charge, or a sign that your phone has been hacked. It is part of the process your phone may use to install an international eSIM.
If you are using a data-only eSIM, the service is usually designed for mobile data rather than normal calls and SMS. That means the eSIM may help with maps, WhatsApp, email, banking apps, browser access, ride-share apps, and hotspot where supported, but it may not replace every function of your regular SIM.
Before departure, it is worth checking how the eSIM should be installed, when it should be activated, and which mobile data settings are recommended. For more background before setup, this guide on how an eSIM works explains the basics in simple terms.
SM-DP+ Address and eSIM Setup
During eSIM setup, your phone needs to download the correct eSIM profile. That profile contains the details your device uses to connect to a mobile network in your destination.
There are usually two setup paths. The first is QR code installation, where your phone scans the eSIM details automatically. The second is manual installation, where you may need to enter the SM-DP+ address and an activation code.
If the QR code setup works, you may never see the SM-DP+ address. If manual setup is needed, follow the details exactly as provided. A small typo can stop the eSIM from installing.
Step-by-Step Checklist for SM-DP+ Address Troubleshooting
- Check your eSIM setup email first
Look for the QR code, manual installation details, activation code, and any instructions about when to install or activate the eSIM. - Confirm your phone supports eSIM
Not every device supports eSIM, and some models vary by country or carrier. Check the exact device model before assuming compatibility. - Check whether your phone is carrier-locked
A locked phone may not accept another provider’s eSIM. If your device shows a carrier-lock warning, contact your regular mobile provider before continuing. - Install using stable Wi-Fi
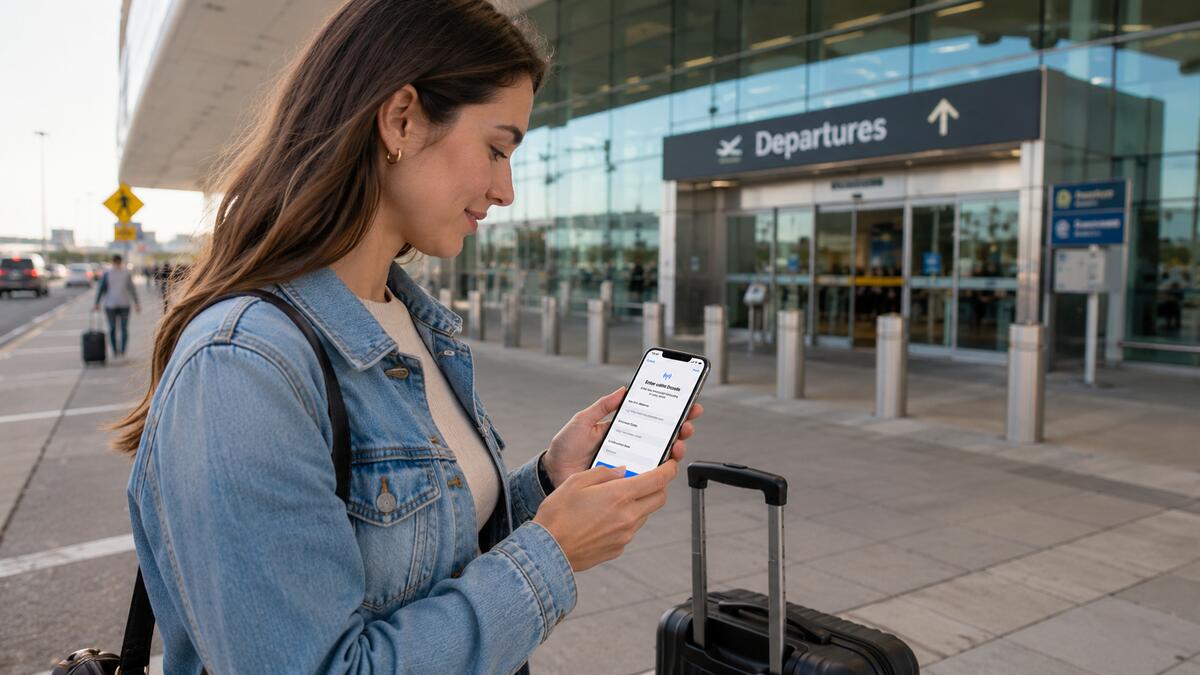
Install the eSIM on a reliable Wi-Fi connection, ideally before departure. Airport arrival is rarely the best time to fix setup issues, especially if Wi-Fi is weak or you need data immediately. - Use the exact SM-DP+ address provided
Do not copy details from forums, screenshots, unrelated guides, or another traveller’s eSIM. The address and activation details need to match your eSIM profile. - Check your mobile data line after installation
Once installed, make sure your travel eSIM is selected for mobile data. Also, check the roaming settings against the product instructions. - Restart your device if the eSIM installs but does not connect
A restart can help your phone refresh its network connection. After restarting, check that the eSIM line is switched on. - Remember that some eSIMs connect only at the destination
If you are still in Australia, the eSIM may install correctly, but not connect to an overseas network until you arrive.
What Not to Do During Setup
Do not delete the eSIM too early. Some eSIMs cannot be reinstalled once removed from the device, so only delete it if the instructions or support team advise you to.
Do not keep rescanning the same QR code without checking the setup guide. Repeated attempts can create confusion, especially if the eSIM has already been added to the device.
Do not ignore carrier-lock messages. If your phone is locked to your regular provider, the eSIM may not install or connect as expected.
Do not assume emergency calls work the same way everywhere. Emergency service access can depend on your device, local networks, active SIM settings, and the country you are visiting. Keep a backup plan for urgent calls.
Do not turn off your main SIM without checking what you still need it for. Banking codes, two-factor authentication, and SMS access may still rely on your regular number.
Do not share your QR code, activation code, or eSIM setup details with anyone else.
How TravelKon Users Should Prepare
For TravelKon users, the setup email and product instructions should be treated as the main guide. Different eSIM products may have different installation timing, destination coverage, roaming settings, and hotspot support, so it is better to follow the exact instructions for the eSIM you purchased.
Before departure, save your TravelKon installation email somewhere easy to access. It is also sensible to keep a screenshot of the setup instructions, but avoid sharing the QR code or activation details.
Check that your device is eSIM-compatible and unlocked. Confirm that the product matches your destination and travel dates. Install using Wi-Fi, and read the product notes before changing roaming settings or mobile data settings.
If you’ll need to use hotspot during your trip, check whether it is supported on your selected eSIM plan. This is especially useful if you plan to connect a laptop, tablet, or another traveller’s device. A few minutes of preparation before departure can prevent a stressful setup moment after airport arrival.
When to Contact TravelKon Support
Contact TravelKon support rather than guessing if:
- Your phone asks for an SM-DP+ address, and you cannot find it.
- The QR code will not scan.
- The eSIM installs, but mobile data does not work in the destination.
- Your device says the eSIM cannot be added.
- You see a carrier-lock warning.
- You accidentally deleted the eSIM.
- You are unsure whether your phone is compatible.
- Your settings do not match the product instructions.
When asking for help, include screenshots of the error message, your device model, destination, order details, and the steps already tried. That gives our support team the best chance of identifying the issue quickly.
Takeaways
An SM-DP+ address is simply the server address your phone may use to download an eSIM profile during setup. Most travellers only see it when installing an eSIM manually or fixing a setup issue.
The safest next step is to check your installation email, follow the product instructions, use stable Wi-Fi, and avoid deleting the eSIM too soon. For TravelKon users, the setup email and TravelKon support channels are the right places to turn if the phone asks for details that are not clear.
FAQs
What is an SM-DP+ Address on an eSIM?
An SM-DP+ address is the server address your phone uses to download the correct eSIM profile from your provider. It is usually needed during manual eSIM setup.
Why Is My Phone Asking for an SM-DP+ Address?
Your phone may ask for an SM-DP+ address if the eSIM is being installed manually, if the QR code does not scan, or if the setup process needs extra activation details.
Do I Need an SM-DP+ Address to Install a Travel eSIM?
Not always. Many travel eSIMs can be installed by scanning a QR code. You may only need the SM-DP+ address if manual setup is required.
Where Do I Find My SM-DP+ Address?
Check your eSIM setup email or product instructions. If the SM-DP+ address is not shown and your phone is asking for it, contact support before trying random details.
Is It Safe to Enter an SM-DP+ Address Manually?
Yes, when the details come from your eSIM provider’s setup instructions. Do not use an SM-DP+ address from unrelated online guides, forums, or another person’s eSIM.
Should I Delete My eSIM and Try Again?
Not unless the setup instructions or support team tell you to. Deleting an eSIM can make troubleshooting harder, especially if the eSIM cannot be reinstalled.