SIM Swap Fraud Travel Tips: How Travellers Can Protect Their Mobile Number
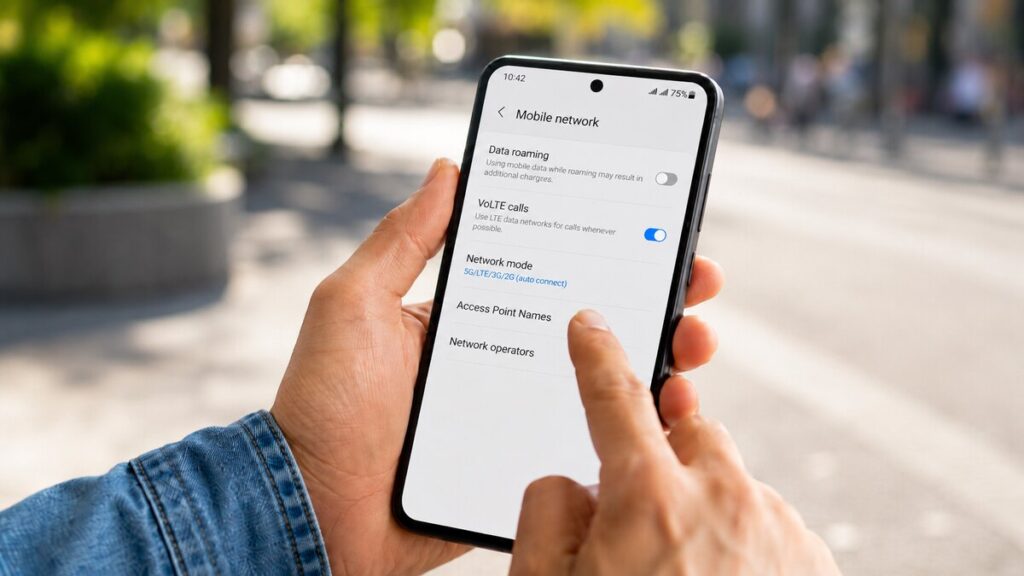
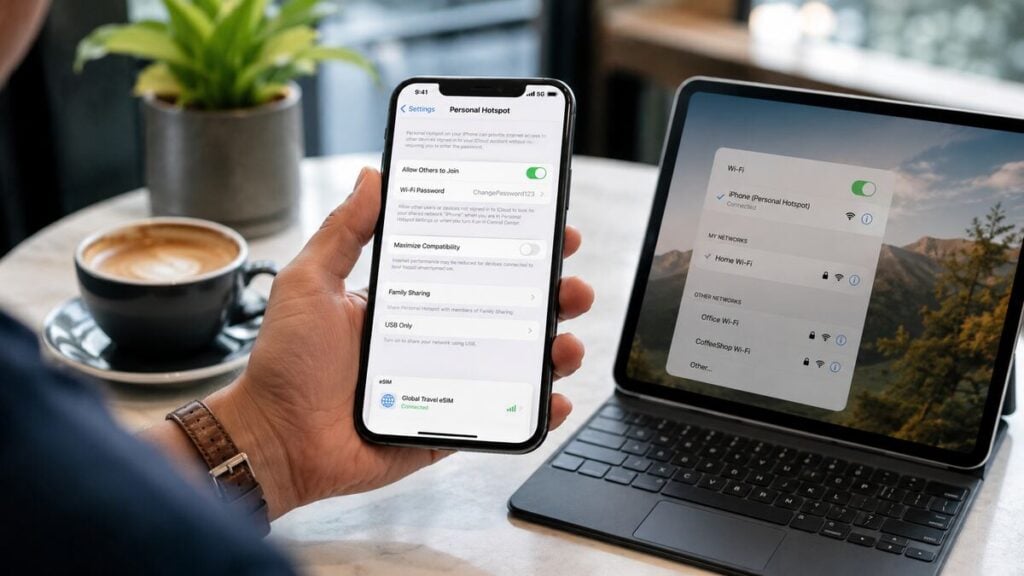
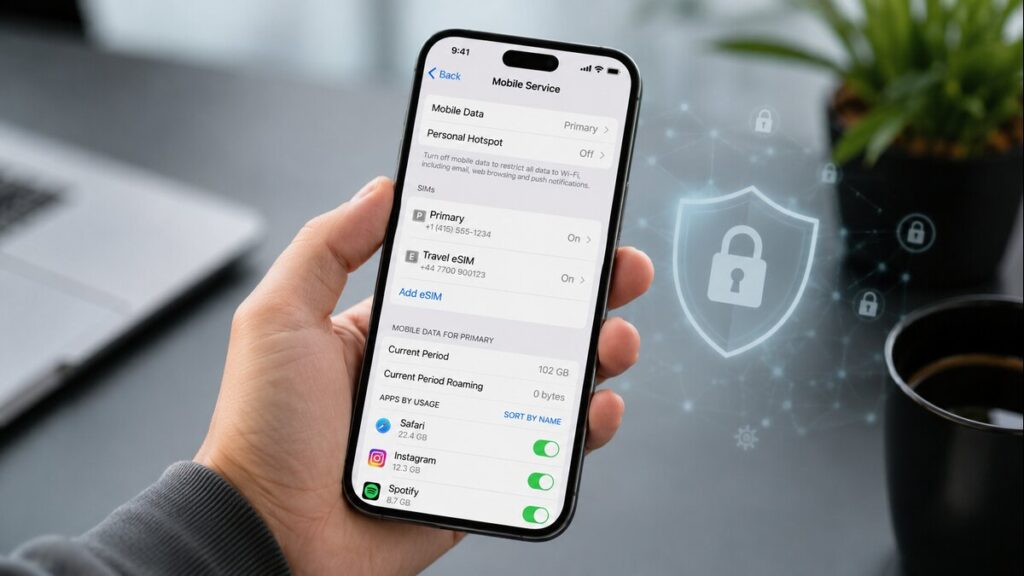
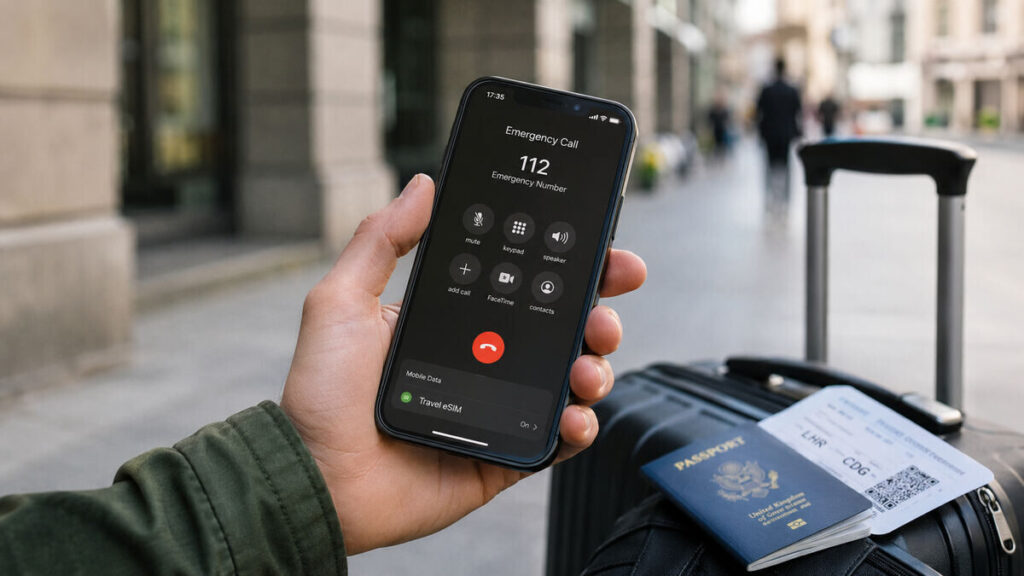
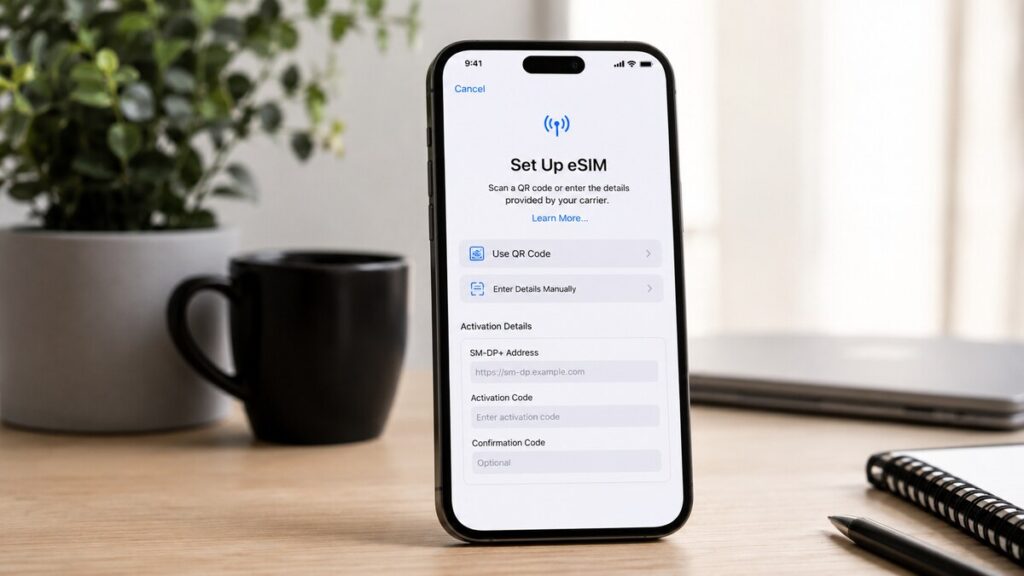
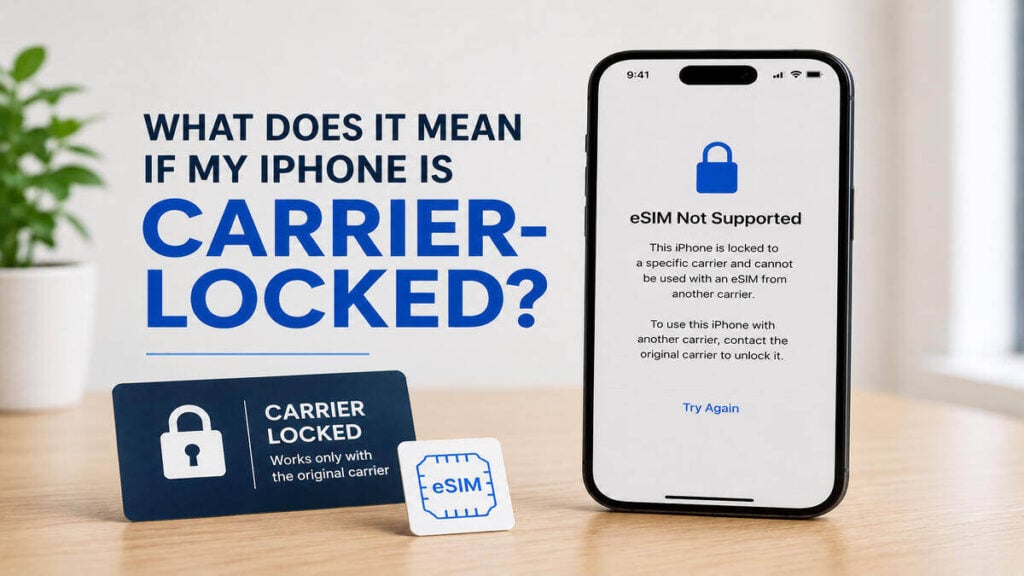
Losing access to a mobile number while overseas can turn a normal travel problem into a very stressful one. For anyone using travel eSIMs, it helps to know what SIM swap fraud is, what it is not, and how it differs from a standard eSIM setup issue. Fortunately, most activation errors you encounter on the road are simply due to misconfigured settings or poor local network coverage. True SIM swapping requires malicious intent and identity theft, making it a completely different beast than a stubborn data plan. Quick Answer A data-only eSIM for travel does not usually transfer your regular mobile number or replace your home SIM. SIM swap fraud travel concerns are mainly about protecting your normal mobile number while you are away. If your Australian number suddenly loses service, stops receiving SMS codes, or your carrier alerts you to a SIM change you did not request, contact your home mobile provider immediately. With the Australian Communications and Media Authority (ACMA) estimating that victims of mobile fraud and SIM swap scams lose an average of $28,000, acting fast is critical. But if your travel eSIM is not connecting, start with eSIM troubleshooting: mobile data settings, roaming settings, device compatibility, and the product instructions. What This Means for Overseas Travellers For most travellers, the practical risk is confusion. You may land overseas, turn on your phone, and see no data. That can feel alarming, particularly if you need maps, rideshare, banking, hotel details, or airport arrival messages. But no data on a travel eSIM does not automatically mean your number has been compromised. A data-only eSIM is generally designed to provide mobile data in your destination. And as earlier mentioned, your regular SIM remains linked to your usual mobile number unless your mobile provider makes a change to that number or SIM profile. While it requires malicious intent, data from identity support service IDCARE shows a massive 240% surge in people seeking help for phone porting and SIM swap fraud. Alarmingly, their data reveals that 90% of these cases happen silently without any direct engagement or interaction from the victim. The criminals rely entirely on leaked personal data bought online, which is why securing your carrier account before flying is so important. And that is why proper eSIM setup is required. Your phone may have two lines active: one for your regular number and one for your international eSIM. The goal is usually to use the travel eSIM for mobile data while keeping your home SIM available only if you need calls or SMS. For extra background before setup, our guide on how an eSIM works explains the basics and is a good starting point for everyone new to travel eSIMs. SIM Swap Fraud Travel Checklist 1. Before Departure Secure your mobile provider account before you leave. Use a strong password, add a PIN if your provider allows it, and turn on any extra account protection available. Move important accounts away from SMS-only verification where possible. Banking, email, cloud storage, and travel accounts are safer when protected with an authenticator app or other stronger login method. Check that your phone is unlocked and supports eSIM. A carrier-locked phone may not work with an international eSIM, even if the eSIM itself is valid. Save your eSIM installation email, QR code, order details, and instructions somewhere accessible offline. Screenshots can be helpful if Wi-Fi is unreliable later. 2. During eSIM Setup Install your eSIM using stable Wi-Fi. A hotel, home connection, or reliable airport Wi-Fi is better than trying to complete setup while rushing between gates. And as always, label the eSIM clearly in your device settings. Names such as “TravelKon Europe” or “Japan Data” make it easier to select the correct line for mobile data. Check whether roaming needs to be enabled for the travel eSIM. Some travel eSIM products require data roaming to connect to partner networks overseas. 3. On Airport Arrival Set mobile data to the travel eSIM. Keep your Australian SIM switched on only if you need your normal number for calls or SMS. Turn off data roaming on your home SIM if you are trying to avoid roaming charges. This helps prevent your phone from accidentally using your Australian provider for mobile data. Give the eSIM a few minutes to register on the local network. If it still does not connect, check the product instructions before changing multiple settings. If hotspot use matters, confirm that your device and eSIM plan support it. Hotspot behaviour can vary by product, phone model, and local network. 4. If Something Feels Wrong If your travel eSIM has no mobile data, treat it as a setup issue first. If your normal mobile number suddenly stops working, treat it as a possible carrier account issue and contact your home provider straight away. That split is important because we can only help with TravelKon eSIM setup and connectivity issues. Your home mobile provider is the right contact if your regular number appears to have been moved, blocked, or changed without permission. What Not to Do When Using an eSIM for Travel Try not to delete your eSIM too early. Reinstalling may not be possible, and rescanning the same QR code may not work. Do not rescan the QR code repeatedly without checking the instructions. If activation has already started, repeated attempts can make troubleshooting harder. You shouldn’t ignore carrier-lock warnings. If your phone is locked to a network, an eSIM from another provider may not work. Never assume emergency calls work the same way in every country. Emergency service access can vary by destination, device, network, and service type. Don’t leave your home SIM using mobile data if your goal is to avoid roaming charges. The common setup is a travel eSIM for data, a home SIM for SMS or calls only if needed. Do not assume a travel eSIM issue means SIM swap fraud. No signal, no data, or slow connection can come from settings, coverage, product activation timing, or device compatibility.
SIM Swap Fraud Travel Tips: How Travellers Can Protect Their Mobile Number Read More »